|
|
 |
|
Issue 20- November 1, 2005
Back to newsletter archive
2005
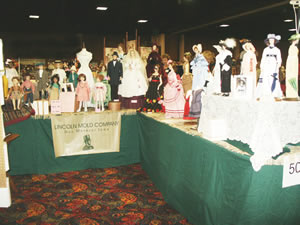
Fall Des Moines Doll, Bear & Toy Sale
If you missed us
Colorado, be sure and come see us November
12th, in Des Moines, Iowa, for the 2005
Fall Des Moines Doll, Bear & Toy Sale,
at the State Fairgrounds Tourism Building, East 30th
& University Ave.
|
|
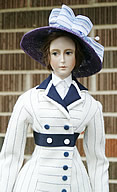
| WIGS FOR 19th
CENTURY FASHION PLATE COLLECTION
A Three Part Series
Part 3
STYLING THE WIG |
|
If
you Missed Part 1 & Part 2
See our Newsletter
Archives for
Issue 18 and Issue
19 |
| Now the wig is ready for the fun part. First
you will cover the ugly wig cap with a layer of mohair
similar to the first covering. It will be a little bit
thicker though and finished to show through. Only the
middle part may be visible on the finished wig. Line
up the mohair just as you did before. Always use as
little mohair as possible. But use just enough to cover
what is underneath. To much mohair will end in a wiggy
unnatural look on the finished doll. Give the switch
of mohair a good brushing to make it smooth. |
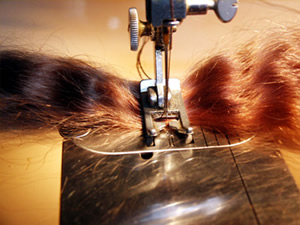
| Line it up at the sewing machine needle,
Shorten the stitch to around Use matching thread. Lower
the presser foot and while holding the threads back with
one hand run the machine 3 revolutions. Raise the presser
foot and lower the needle all the way down and push the
mohair against the needle so there will be a little more
mohair bunched up at the beginning of the part. The mohair
should measure across the same length of the part in the
finished wig. Adjust width at this and hold the mohair
down on both sides and feed it through as you stitch across.
Tie off the threads. Pull any thread ends under so they
won’t show on the finished wig. |
|
 |
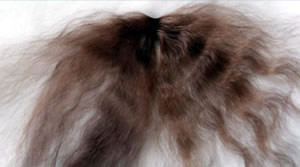
| Brush the hair together on the back
end of the part.
|
|
 |
| Trim the mohair just long enough to
extend around the edge of the wig cap underneath. Spread
a little glue close to the edge of the wig cap. |
|
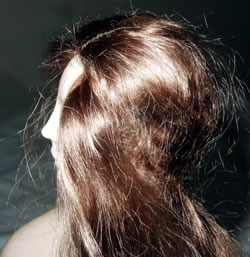 |
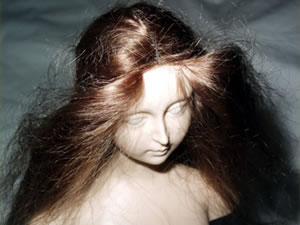
Keep the glue off the long wefts
of hair. Spread a very thin line of glue on the middle
part extending it to the porcelain forehead. Place the
mohair part on the wig cap in the proper place. The
front of the wig cap should be covered with the part.
Spread the trimmed edges of the piece down to the glue
line and press it in place with your fingers. Leave
it to dry. |
|
 |
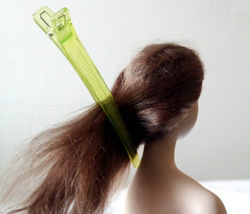
| Tie the switch in a pony tail. Secure
the string to the wig cap with thread and needle so that
it will stay where you want it. |
|
 |
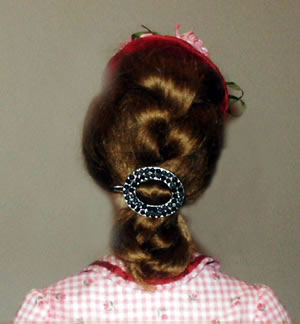
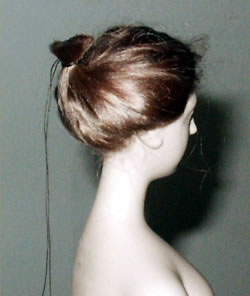
| At this point the possibilities are
endless. Study some of the Victorian hair styles to get
ideas for your doll. The hair style should coordinate
with the time period of the clothing. |
|
 |
|
You may either arrange
the pony tail in an arrangement or cut it off, making
room for a styled hair piece to be applied.
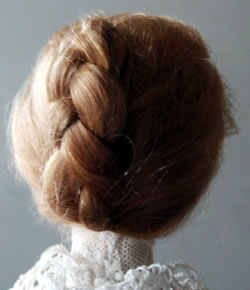
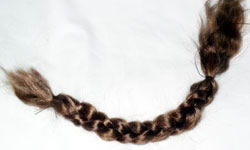
| The two styles
were made by braiding a separate piece and stitched
on with needle and thread. The ends were trimmed
and tucked under. |
|
|
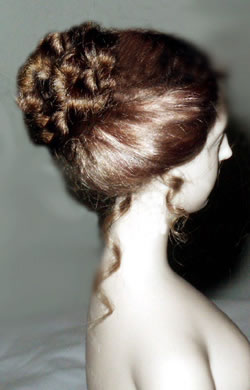
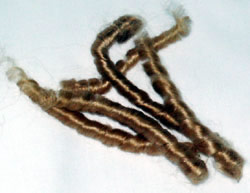
| Curls are made by wetting a small amount of
mohair and wrapping it around a knitting needle
and allowed to dry. Curls are strung on a thread
and sewn into the hair. |
|
 |
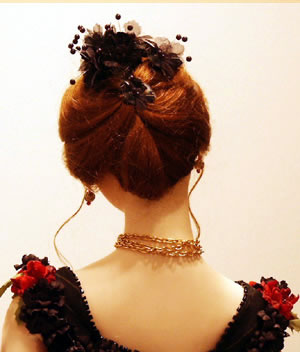
Separate hair piece applied
|
Subscriptions
Thank you for subscribing to our newsletter, and for your
interest in our patterns and molds.
If you don't want to receive any more of our newsletters,
please click
here to unsubscribe. |
Lincoln Mold Company
2554 Mansfield Drive
Des Moines, Iowa 50317
http://lincoln-mold.com
voice: 515-266-6432
|
Back to newsletter archive
|
Home | Gallery | Our
Store | Newsletter | In
the Media
Shipping | Contact
Us | Privacy | Security | Testimonials | Links
Lincoln Mold Company
2554 Mansfield Drive,
Ste 1
Des Moines, Iowa 50317
voice: 515-266-6432
fax: 775-628-9185
send us an email message
Copyright
2004 Lincoln Mold Company. All rights reserved
Website designed and Maintained by Dan
& David Bailey |


