| You
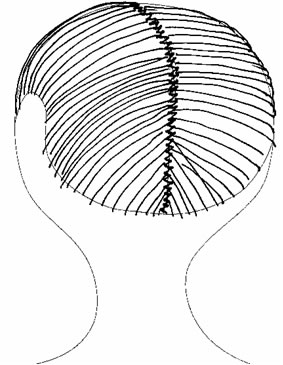
will need strips of mohair stitched together on
the top end. This wefts of mohair will remind
you of a grass skirt.
The Wefts of mohair will be glued inside the
Wig Cap and hang downward at this point.
There is a right and wrong side to the wefts.
The under side has short hairs where the weft
was turned under and sewn into a weft. The top
side has long smooth continuous hairs. Use short
sections of the mohair wefting. Shorter sections
will be easier to handle than on long piece that
extends the circumference of the head.
Lay the wefts on paper with the smooth top side
of the weft facing downward. Using a white glue
dispensing bottle run a thin bead of glue on the
weft header where it is sewn. Begin just above
the hair line and glue the wefts inside the wig
cap making sure that the top smooth side of the
mohair is facing inward. After circling the wig
cap let it dry a few minutes before gluing the
second strip of wefting. Glue the next weft row
just above the first. Do the same with a third
weft. The number of the weft glued on is determined
by how thick and full the strips of mohair are.
A forth weft may or may not be needed.
There must be just enough hair in the wig cap
so that the hair will cover the wig cap properly
when pulled up and tied off. If there is more
hair than needed, the finished product will appear
wiggy.
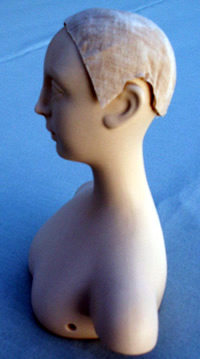
A gentle glue should be used to adhere the wig
to the dolls head. Spread glue inside the wig
cap above the mohair and place it on the head.
Adjust the cap properly. Feel to adjust the wig
cap. If it is not placed on the head right then
the hair will seem crooked when it is dry. The
edge of the cap should follow the hair line. Wrap
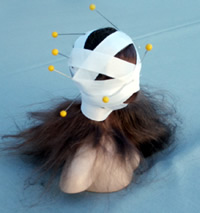
the cap onto the head with a strong fabric twill
tape or ribbon. Wrap the tape around and around
in different directions very tightly and pin it
on itself in a few places as you wrap. Pull the
twill tape very tight to hold the wig cap in place
while it dries. The cap and glue must make contact
with the head in order be glued securely. Allow
it to dry over night. Carefully remove the pins
and tape. If the glue is dry the stiff wig cap
will hold the hair line close to the porcelain
when the hair is lifted up.
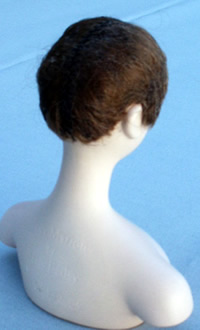
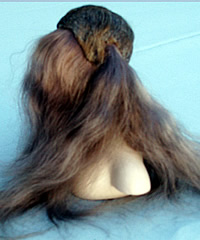
Pull the hair up and secure on top as the hair
style needs. Make sure the pulled up hair is in
the proper place over the wig cap. In order to
make the wig appear more natural add extra small
strands or curls of hair around the edges where
it may have been missed. Put a small amount of
glue on the top end of a curl and push the top
ends under the wig cap where it should be.
Making sure the sides of the hair are smooth
and natural the hair can be tied off on the top
or back. This pony tail of hair can be either
cut off or used in the hair style.
The wig is ready to be styled.
In our next newsletter we will finish the wig
and give you suggestions on hair styles.
Coming next newsletter
Part 3
STYLING THE WIG
|


